

Hey there! As a supplier of specialized equipment, I often get asked about how to install spare parts on these machines. It's a crucial skill, whether you're a seasoned pro or just starting out in the industry. In this blog, I'll walk you through the process step by step, using some common examples of specialized equipment.
First off, let's talk about why installing spare parts correctly is so important. Specialized equipment is designed to perform specific tasks with high precision and efficiency. When a part wears out or breaks, replacing it with a new one is essential to keep the machine running smoothly. But if the installation isn't done right, it can lead to all sorts of problems, like reduced performance, increased wear and tear on other parts, and even safety hazards.
Before you start installing any spare parts, it's important to do your homework. You need to make sure you have the right part for your equipment. Check the manufacturer's specifications and part numbers to ensure a perfect fit. It's also a good idea to read the installation instructions carefully. These instructions are usually provided by the manufacturer and will give you detailed steps on how to install the part correctly.
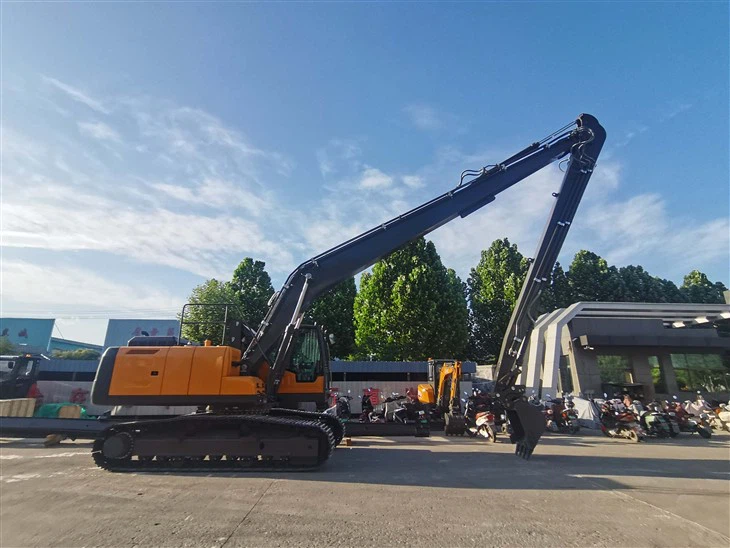
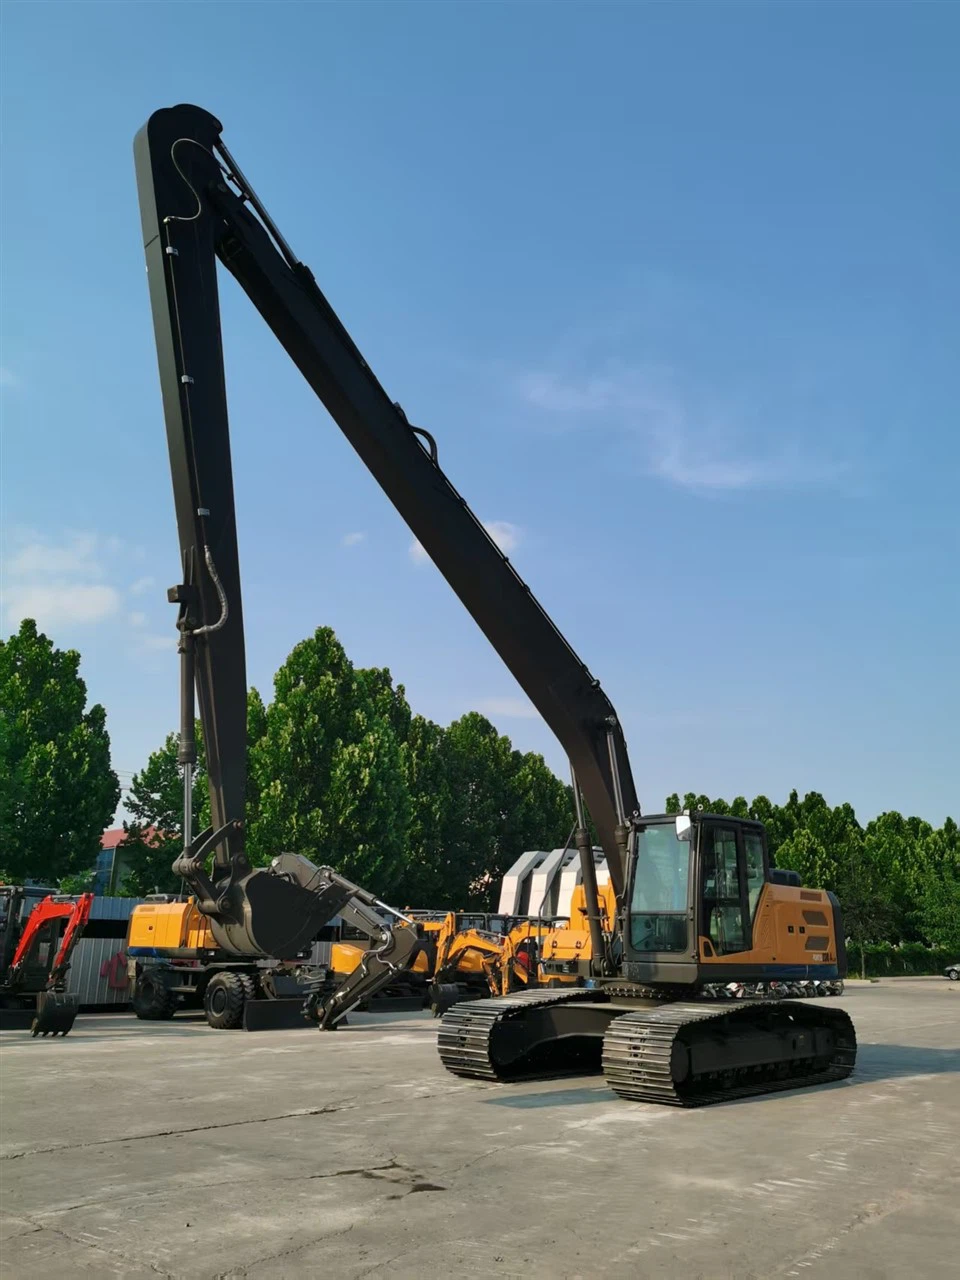
Let's take a Long Arm Excavator as an example. Long arm excavators are powerful machines used for digging, lifting, and moving heavy materials. They have a lot of moving parts, and over time, some of these parts may need to be replaced.
One of the most common spare parts that need to be installed on a long arm excavator is the bucket teeth. Bucket teeth are the sharp, pointed parts at the end of the excavator's bucket that help it dig into the ground. To install new bucket teeth, you'll first need to remove the old ones. This usually involves removing a pin or bolt that holds the tooth in place. Once the old tooth is removed, you can clean the area where the new tooth will be installed. Make sure there's no dirt, debris, or old lubricant left.
Next, align the new bucket tooth with the mounting point on the bucket. This may take a little bit of wiggling and adjusting to get it just right. Once it's aligned, insert the pin or bolt through the tooth and the bucket to secure it in place. Make sure the pin or bolt is tightened properly, but don't over-tighten it, as this can damage the parts.
Another important spare part on a long arm excavator is the hydraulic hose. Hydraulic hoses are used to transfer hydraulic fluid, which powers many of the excavator's functions. If a hydraulic hose leaks or breaks, it needs to be replaced immediately.
To replace a hydraulic hose, you'll first need to relieve the pressure in the hydraulic system. This is usually done by turning off the excavator and allowing the system to cool down. Once the pressure is relieved, you can locate the damaged hose. Use a wrench or pliers to loosen the fittings on both ends of the hose. Be careful not to damage the fittings or the surrounding parts.
Once the old hose is removed, clean the fittings and the connection points. Then, install the new hose by tightening the fittings securely. Make sure the hose is routed correctly and doesn't rub against any other parts of the excavator. After the new hose is installed, you'll need to refill the hydraulic system with fluid and check for any leaks.
Now, let's talk about some general tips for installing spare parts on specialized equipment. First, always use the right tools for the job. Using the wrong tools can damage the parts and make the installation process more difficult. Second, keep the work area clean and organized. This will help you avoid losing small parts and make it easier to find what you need.
Third, take your time and be patient. Installing spare parts can be a delicate process, and rushing through it can lead to mistakes. If you're not sure how to do something, don't be afraid to ask for help. You can consult the manufacturer's instructions, talk to a colleague, or even call the supplier for advice.
Finally, after you've installed the spare part, test the equipment to make sure it's working properly. Check for any unusual noises, vibrations, or leaks. If you notice any problems, stop using the equipment immediately and investigate the issue.
In conclusion, installing spare parts on specialized equipment is a skill that takes time and practice to master. By following the steps outlined in this blog and using the right tools and techniques, you can ensure that your equipment stays in top condition and performs at its best.
If you're in the market for spare parts for your specialized equipment, or if you have any questions about installation, don't hesitate to reach out. We're here to help you find the right parts and get them installed correctly. Contact us today to start the procurement and negotiation process.
References
- Manufacturer's manuals for specialized equipment
- Industry best practices for equipment maintenance and repair


