Yo! I'm a supplier of wheel excavators, and I know how crucial it is to have proper lighting when you're doing night work with these machines. In this blog, I'm gonna walk you through how to install additional lights on a wheel excavator for those late - night jobs.
First off, let's talk about why you need extra lights. When it's dark, visibility is super limited. You need to see what you're doing, whether it's digging, moving materials, or just navigating around the worksite. Additional lights can significantly improve safety and efficiency. You won't be fumbling around in the dark, and you'll be able to spot potential hazards like rocks, holes, or other equipment.
Choosing the Right Lights
The first step is to pick the right lights for your wheel excavator. There are a few types to consider. LED lights are a popular choice these days. They're energy - efficient, which means they won't drain your excavator's battery too quickly. They also produce a bright, white light that can illuminate a large area. You can find LED work lights in different sizes and power ratings. For a wheel excavator, I'd recommend lights with a high lumen output, say around 10,000 - 15,000 lumens.
Another option is halogen lights. They're a bit older technology, but they still work well. Halogen lights are generally cheaper than LED lights, but they consume more power and have a shorter lifespan. If you're on a tight budget, halogen lights might be a good choice, but keep in mind that you'll probably have to replace them more often.
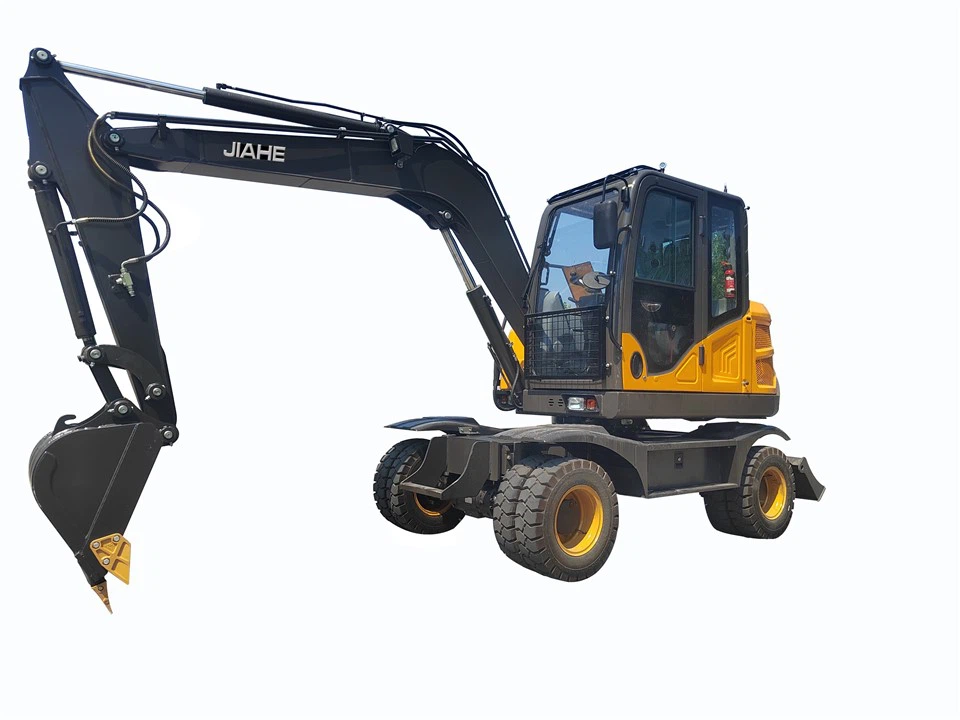
You can check out our 18 Ton Wheel Excavator Agricultural Use model. It's a beast of a machine, and with the right additional lights, it can work wonders even at night.
Tools You'll Need
Before you start the installation process, gather the necessary tools. You'll need a socket set, a drill with appropriate drill bits, wire cutters, wire strippers, electrical tape, and a voltmeter. The socket set will be used to remove and install bolts. The drill is for making holes in the excavator's frame to mount the lights. Wire cutters and strippers are for working with the electrical wires, and the electrical tape is for insulating the connections. The voltmeter is important for checking the electrical current and making sure everything is wired correctly.
Planning the Installation
It's important to plan where you're going to mount the lights. You want to place them in positions that will provide the best visibility. A common location is on the boom or the cab of the excavator. Mounting the lights on the boom will give you a forward - facing light that can illuminate the digging area. Mounting them on the cab can provide side and rear lighting, which is useful for navigating around the worksite.
Mark the spots where you're going to drill holes for the light mounts. Make sure the marks are straight and level. You can use a measuring tape and a level to ensure accuracy. It's also a good idea to check the excavator's manual to make sure you're not drilling into any important components or wiring.
Mounting the Lights
Once you've planned the installation, it's time to mount the lights. Start by drilling the holes in the marked spots. Make sure the holes are the right size for the bolts that come with the light mounts. Insert the bolts through the holes and attach the light mounts to the excavator. Tighten the bolts securely using the socket set.

After the mounts are in place, attach the lights to the mounts. Most lights come with a simple mounting system that allows you to easily attach them to the mounts. Make sure the lights are firmly attached and won't vibrate loose during operation.
Wiring the Lights
Now comes the electrical part. This is where the wire cutters, strippers, and electrical tape come in handy. First, you need to find a suitable power source on the excavator. You can usually tap into the existing electrical system, but make sure you're not overloading the circuit. A good place to start is the battery or the fuse box.
Use the wire cutters to cut the appropriate length of wire. Strip the ends of the wire using the wire strippers. Connect one end of the wire to the positive terminal of the light and the other end to the positive terminal of the power source. Do the same for the negative terminal. Make sure the connections are tight and secure.
Use the electrical tape to insulate the connections. This will prevent any short circuits or electrical problems. Once you've wired the lights, use the voltmeter to check the electrical current. Make sure the lights are getting the right amount of power.
Testing the Lights
After you've wired the lights, it's time to test them. Turn on the excavator's electrical system and switch on the lights. Check if they're working properly. Make sure the light beam is focused in the right direction and that there are no flickering or dimming issues. If you notice any problems, go back and check the wiring connections.
Maintenance
Once the lights are installed and working, it's important to maintain them. Regularly check the lights for any signs of damage, such as cracks or loose connections. Clean the lenses of the lights to ensure maximum brightness. If you're using halogen lights, replace them when they burn out.
We also have the Mini Digger 6.5 Ton and the Wheel Excavator 15 Ton Excavator models. These machines can also benefit greatly from additional lights for night work.
If you're interested in our wheel excavators or have any questions about installing additional lights, don't hesitate to reach out. We're here to help you get the most out of your equipment. Whether you're a small - scale contractor or a large construction company, we've got the right excavator for you. Contact us to start a procurement discussion and find the perfect machine for your needs.
References
- "Wheel Excavator Operation and Maintenance Manual"
- "Guide to Electrical Wiring in Heavy Equipment"